Cart
0





A bad belt setup usually shows itself by hour three of the shift, not in the locker room. What felt fine during a quick gear check starts digging into your hip, blocking your draw, or forcing awkward reaches when speed matters. That is why a solid duty belt configuration guide is less about copying someone else’s loadout and more about building a setup you can run safely, consistently, and comfortably under real conditions.
For law enforcement, corrections, and private security professionals, belt layout affects more than comfort. It changes draw speed, retention access, vehicle comfort, injury risk, and how cleanly you can move through routine tasks like handcuffing, searching, and radio use. The right configuration is the one that supports your assignment, your dominant hand, your agency policy, and the rest of your gear.
What a duty belt configuration guide should actually solve
A duty belt carries mission-critical equipment in a limited amount of space. Every pouch and tool competes for access, balance, and comfort. If your setup is too front-heavy, driving gets miserable. If it is too crowded around the holster, your draw stroke suffers. If your support-side gear is poorly placed, reloads and cuffing become slower than they should be.
That is the real job of a duty belt configuration guide - helping you place equipment where it works under stress, not just where it fits. A clean configuration should support four priorities at once: immediate access to life-saving gear, a clear and repeatable draw path, balanced weight distribution, and enough comfort to wear for a full shift.
Those priorities can conflict. A setup that feels great in the patrol car may slow access to gloves or a tourniquet. A layout that keeps everything tightly packed may look efficient but create snags when you draw. Good configuration is always a trade-off, and the best answer depends on the role.
Start with your role, not your accessories
Before moving pouches around, define what your shift actually demands. A patrol officer, courthouse officer, corrections deputy, armed security officer, and traffic unit officer may all wear duty belts, but they do not need identical layouts.
Patrol work usually prioritizes a clean handgun draw, rapid handcuff access, dependable radio placement, and room for less-lethal tools if authorized. Security roles can vary widely. Some need a lighter profile for extended foot patrol or standing posts, while others may need more medical or flashlight access in low-light commercial environments. Corrections work often changes what matters most, especially in controlled facilities where certain tools, retention needs, or policy restrictions shape the belt.
If your agency issues specific equipment or placement rules, that comes first. After that, build around your most frequent tasks. Think about what you touch every shift, what you need under stress, and what you only access occasionally. The gear you use constantly should never be buried behind equipment you rarely touch.
Build around the holster first
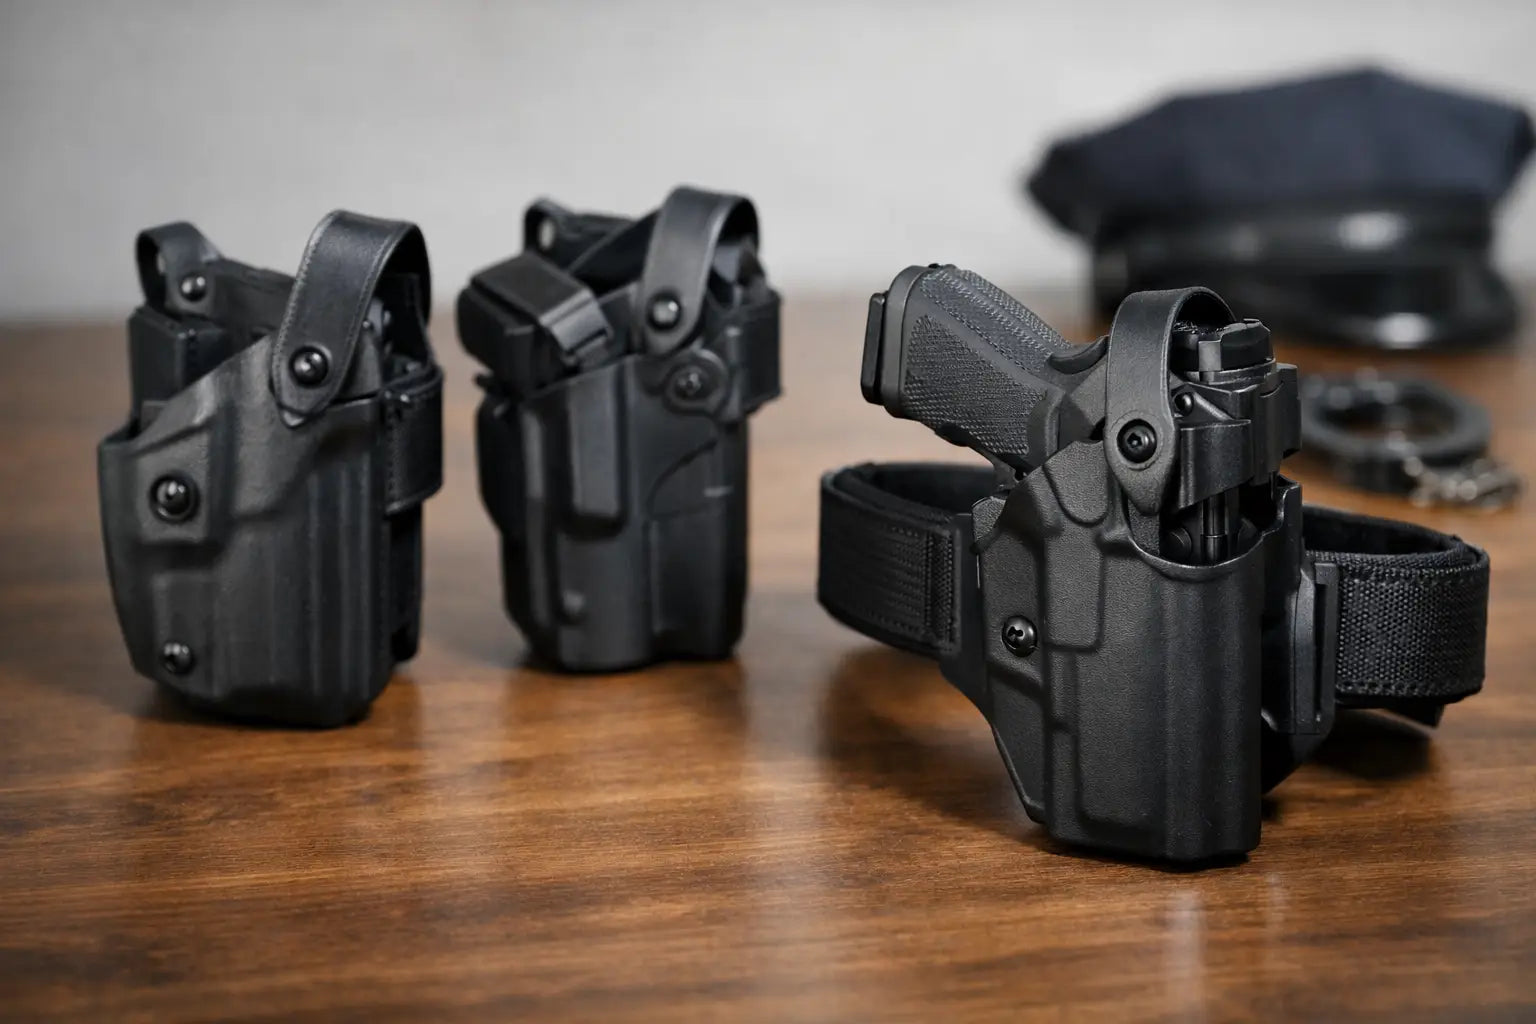
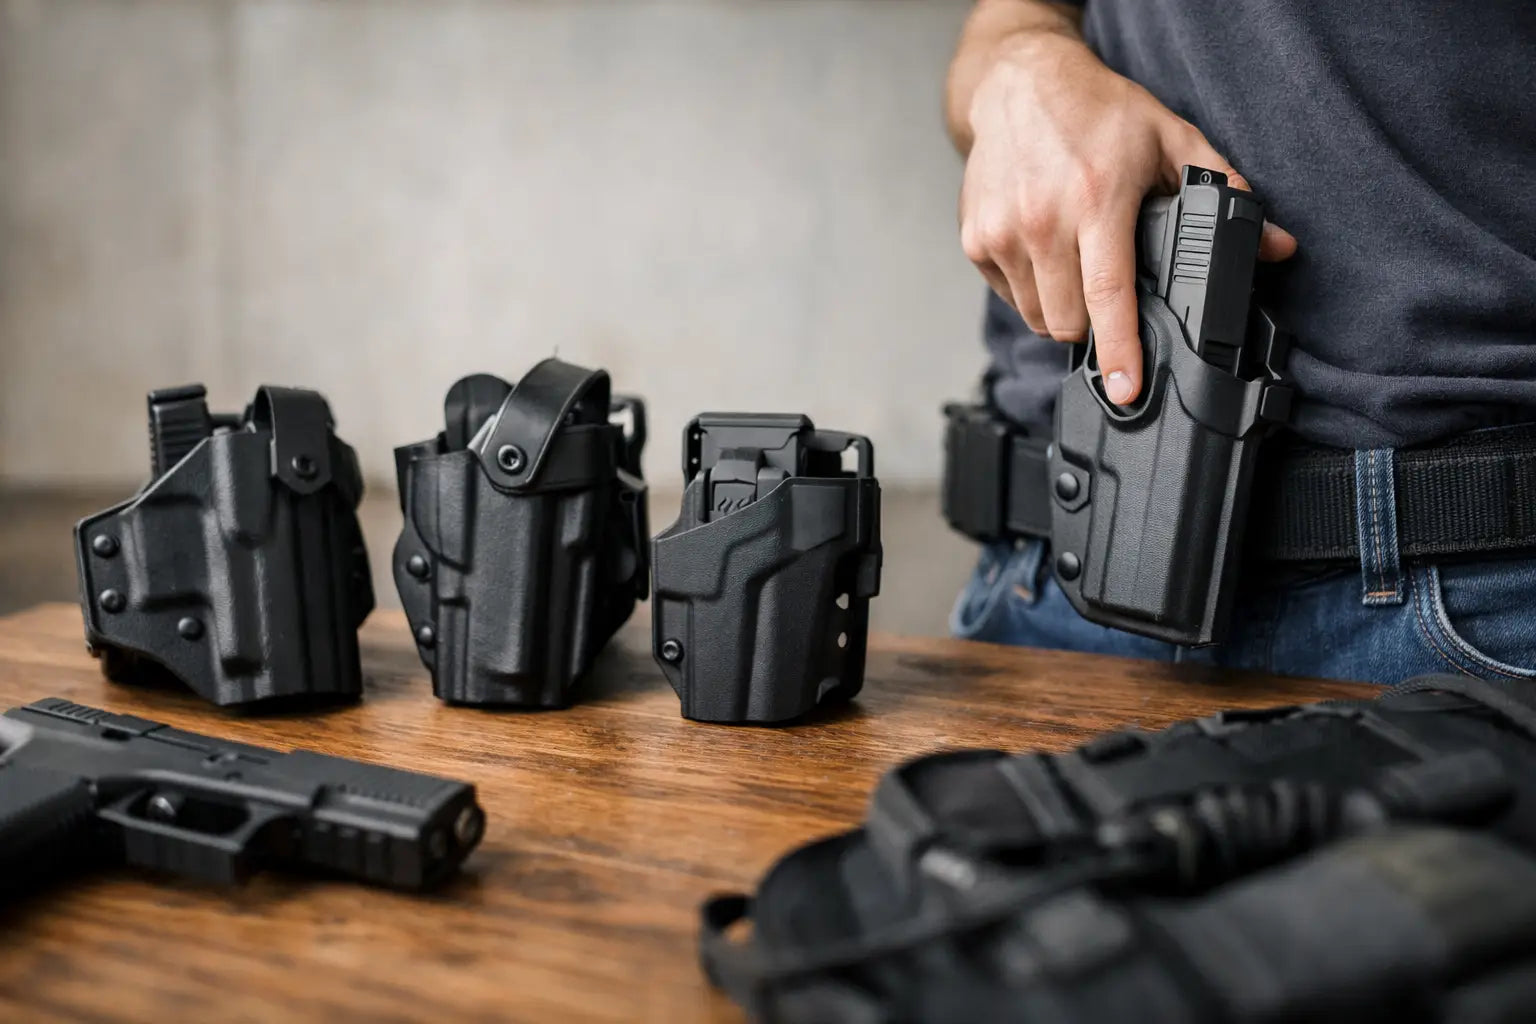
The holster is the anchor point of most belt setups. Once that position is fixed, everything else should support safe access to it. For most right-handed users, the holster rides on the right side with enough open space around it to establish a full firing grip and complete the draw without interference. Left-handed users simply reverse the logic.
This is where many bad setups start. It is tempting to pack gear tightly to save space, but crowding the holster area can create real problems. Keep accessories from overlapping the draw path or pressing into the holster body. Even if you can still draw on the square range, winter gloves, a vehicle seat, or a physical struggle can expose flaws fast.
Holster ride height and cant matter too. A setup that works well on foot may feel wrong in the driver’s seat. A low-ride platform can improve access over armor for some users, but it may also add movement and strike the seat or leg during long shifts. There is no universal best option. Test your draw standing, seated, and while moving.
Place reloads and restraints where your support hand wins
Magazine placement should favor a smooth, repeatable support-hand reload. For many users, that means magazines on the support side, forward of the hip, where the hand naturally indexes them. The exact angle depends on training and preference, but consistency matters more than trend.
Handcuffs also need serious thought. Officers who cuff frequently often prefer one case just behind the support-side hip or near centerline support side, where access stays fast with either hand. Some run two cuff cases for operational reasons, but that extra bulk changes comfort and seat position. If you carry multiple restraints, avoid stacking too much hard gear directly over pressure points.
The same logic applies to disposable gloves or a small glove pouch. If you reach for gloves constantly, they should be accessible without disrupting your handgun side or reload path.
Keep critical tools accessible with either hand when possible
A smart duty belt configuration guide always accounts for injured-hand access. You may not get to choose which hand is free when things go bad. That makes certain tools better candidates for ambidextrous or near-centerline placement.
A tourniquet is the clearest example. If your belt is carrying medical gear, make sure at least the tourniquet can be reached with either hand. The same idea can apply to a flashlight, depending on your assignment and whether you also carry one elsewhere.
Your radio needs a clean location too, but there is some give here. Accessibility, antenna clearance, and comfort while seated all matter. A radio placed too far back can be hard to reach and uncomfortable in a car. Too far forward, and it may interfere with movement or body armor. Most users benefit from testing radio position during common tasks like driving, exiting the vehicle, and keying the mic under stress.
Balance the belt so your lower back does not pay for it
Weight distribution gets ignored until the end of the week, when your hips and lower back start the conversation for you. A belt loaded with metal cuffs, a full-size light, radio, magazines, and less-lethal tools can get heavy fast.
Try to spread weight across the belt rather than stacking multiple heavy items on one side. This is especially important if your assignment keeps you in a vehicle for long periods. Hard cases pressing into the spine or rear hips can become more than annoying. They can affect posture, movement, and long-term wearability.
This is also where suspenders or load-bearing alternatives come into the discussion for some professionals. They can reduce strain, but they also add bulk and may complicate outer carrier or uniform setups. If your agency allows them and your belt load is heavy, they may be worth testing. If not, smart placement and careful gear selection become even more important.
A practical baseline layout
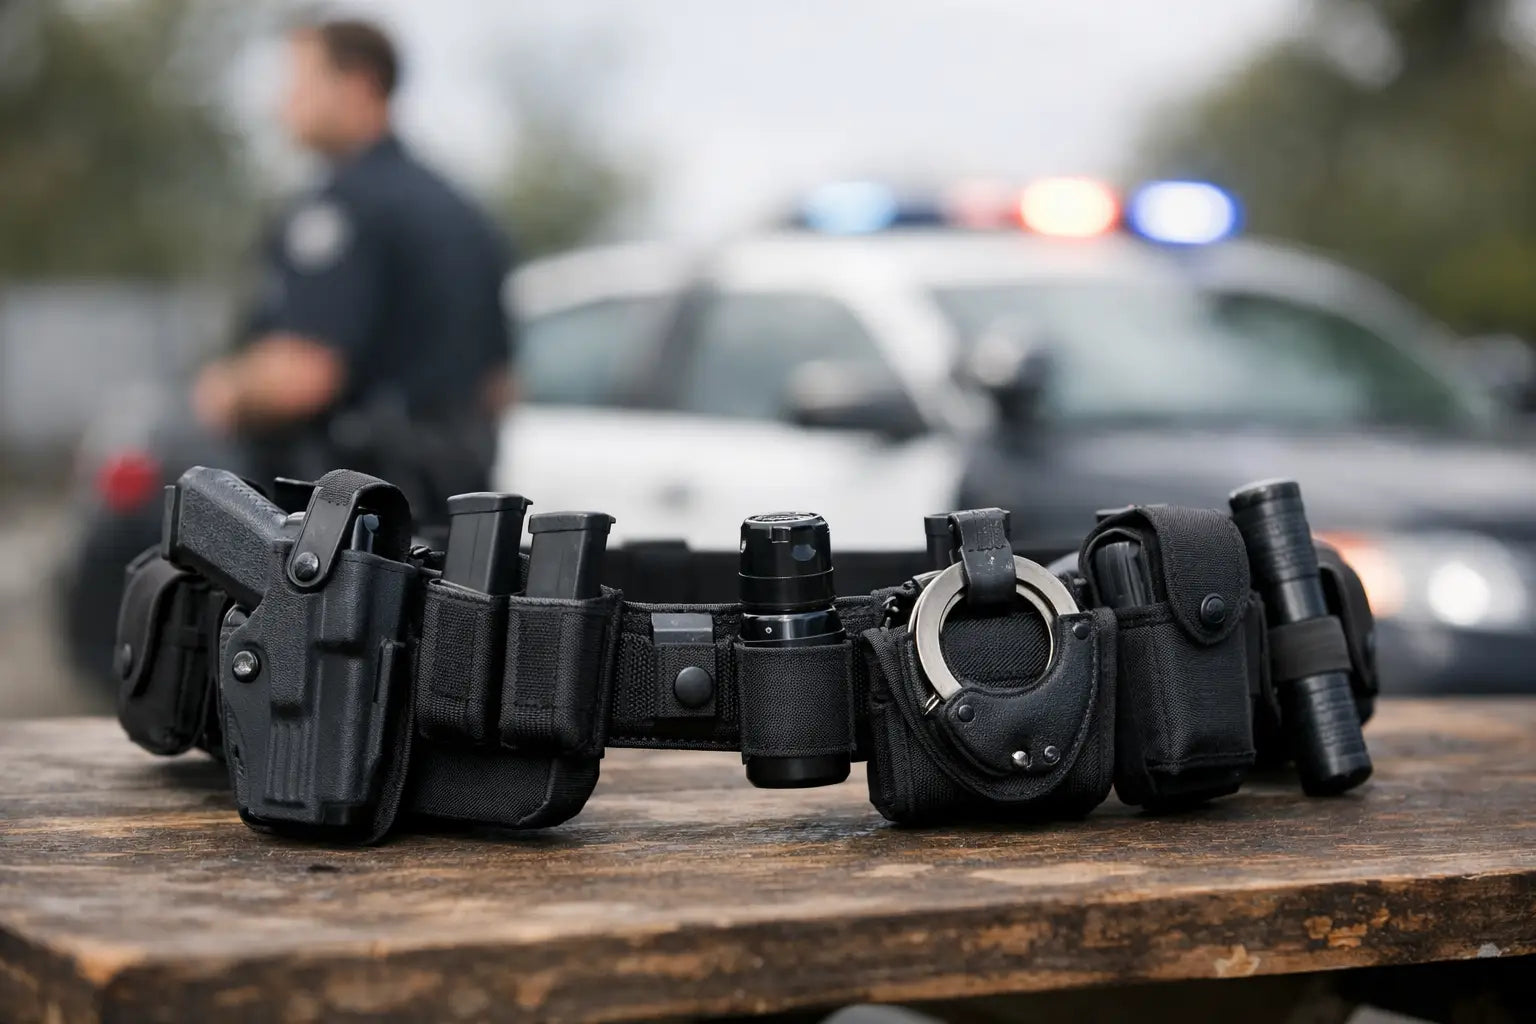
There is no single perfect layout, but there is a proven starting point. For a right-handed patrol or security setup, many users begin with the holster on the strong side, magazines on the support side front, handcuffs near the support-side hip, radio slightly behind that, and flashlight or medical gear where it remains accessible without crowding the draw.
That said, your belt should reflect your training and your actual work. If you spend half the shift seated, move hard gear off the spine and rear hip. If you use your flashlight constantly, bring it farther forward. If less-lethal tools are required, protect access to them without turning the belt into a traffic jam.
Test under working conditions, not just in front of a mirror
A clean setup on the bench means nothing if it fails in the field. Once your belt is configured, wear it through realistic movement. Sit in your patrol vehicle. Run short sprints. Practice getting in and out of a chair. Draw safely with your actual duty jacket or outer carrier on. Reload. Kneel. Bend. Use your radio. Cuff with both hands.
Small changes often make a big difference. Moving a pouch one belt loop over can improve seat comfort without sacrificing access. Changing the angle of a magazine pouch can speed reloads and reduce printing. Replacing a bulky case with a lower-profile option can fix an issue you thought was just part of wearing a duty belt.
If you are building a new setup or replacing worn gear, buy for duty use, not for appearance. Retention, durability, mounting security, and real compatibility matter more than a slick product photo. That is one reason professionals shop specialized retailers like AE Tactical, where the gear mix is built around actual field use rather than generic outdoor categories.
Common mistakes that create problems later
The biggest mistake is overloading the belt just because there is room. Extra gear adds weight, increases snag points, and usually creates new access problems. If an item is rarely needed and can ride elsewhere without compromising readiness, consider that option.
Another common issue is copying a teammate’s setup without accounting for body type, handedness, shift length, or assignment. What works for one officer may be terrible for another. Belt width, torso length, vehicle time, and body armor setup all affect where gear should sit.
Finally, do not ignore retention and training. A well-configured belt still needs repetition. Your hands should know where every item lives without a visual check. If you change positions, retrain until the new layout feels automatic.
A good belt setup is never about looking squared away for inspection alone. It is about making your shift safer, faster, and less distracting. If your current belt fights you all day, that is not normal wear and tear - it is a sign your configuration needs another look.