Cart
0





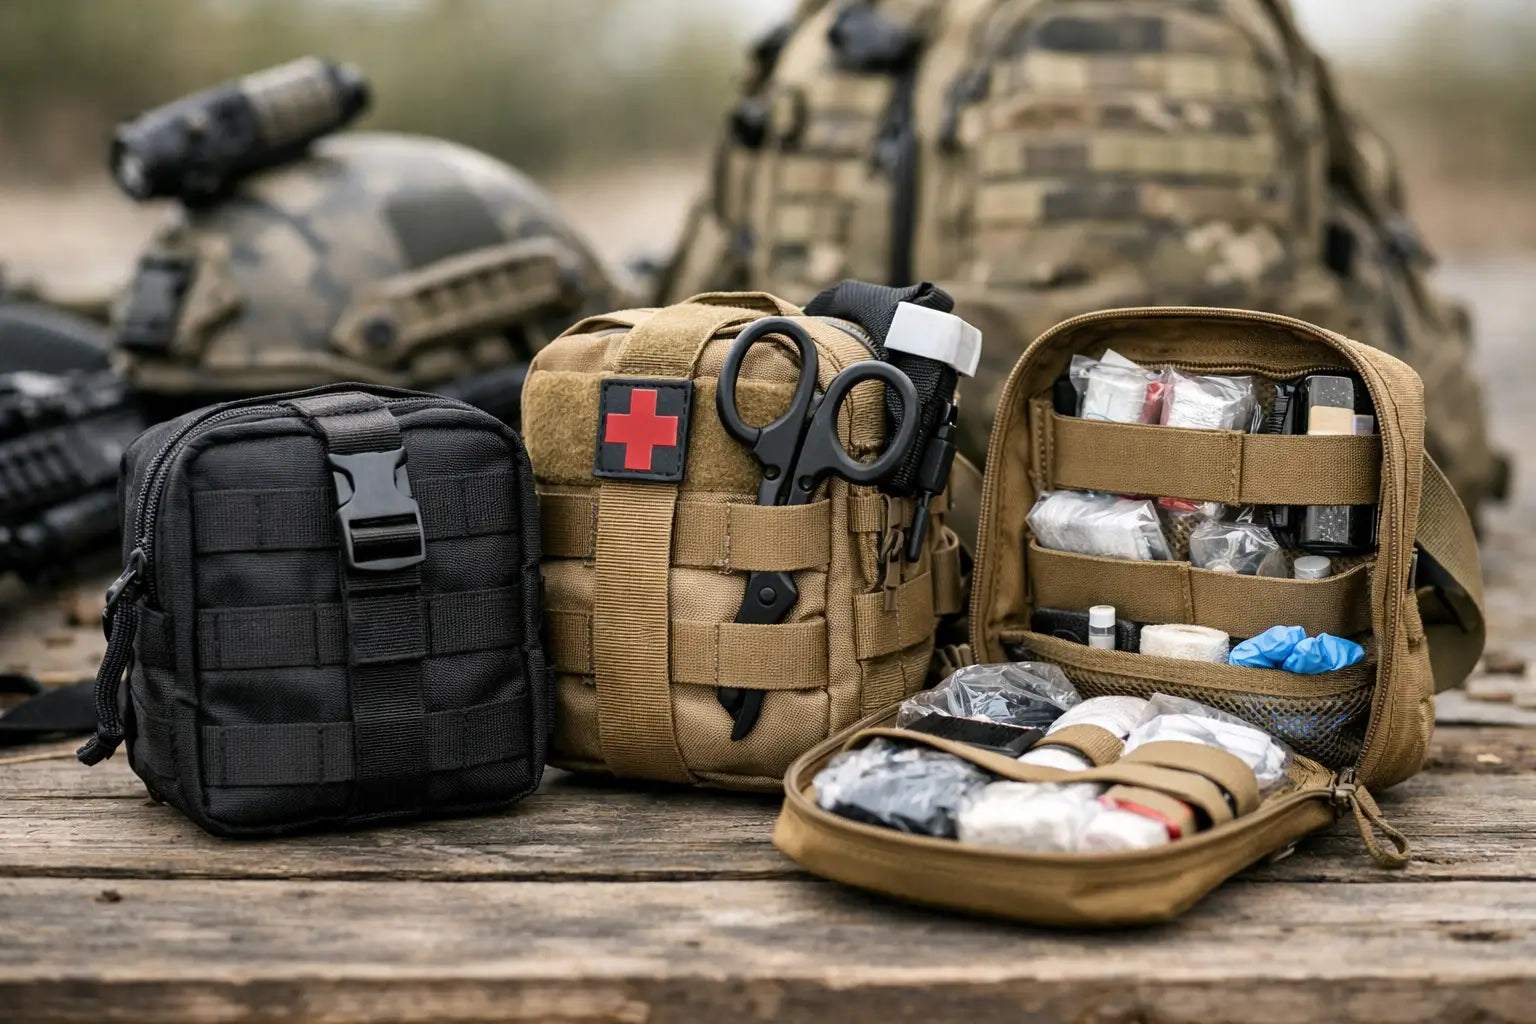
A medical pouch is one of those pieces of gear you do not think about until time matters. Then placement, access, and layout stop being preferences and start affecting how fast you can get hands on a tourniquet, pressure dressing, or chest seal. That is why a solid guide to tactical medical pouches needs to focus less on looks and more on speed, retention, and real-world use.
For law enforcement, EMS, security, corrections, range personnel, and prepared civilians, the right pouch is the one you can reach under stress, identify by feel, and open without a fight. Bigger is not always better. Neither is ultra-minimal. The best setup depends on your role, your belt or carrier space, and the medical loadout you are actually trained to use.
What a tactical medical pouch needs to do
A tactical medical pouch is not just a storage pocket with a red cross slapped on the front. Its job is to protect critical supplies, stay secure during movement, and still give you fast access when seconds count. That means design matters.
A good pouch balances three things. First is retention. Your contents cannot shake loose, spill, or get crushed during patrol, range work, vehicle operations, or field movement. Second is access. You should be able to open it quickly, ideally with either hand, and retrieve the item you need without dumping the rest on the ground. Third is placement. Even the best pouch becomes a bad choice if it rides where it interferes with your draw, seat position, or body armor setup.
This is where many buyers make the wrong call. They shop by size alone or assume any MOLLE medical pouch will do the job. In practice, zipper direction, pull tabs, insert style, and mounting position often matter more than an extra inch of storage.
Guide to tactical medical pouches by pouch style
The most common styles each solve a different problem. Choosing the right one starts with how and where you work.
Tear-away pouches
Tear-away pouches mount to a panel or backing and detach when needed. This style is popular on plate carriers, headrests, packs, and some outer vests because it lets you rip the pouch free and work from a better position. If you are treating someone on the ground or need to hand the kit to another responder, that flexibility helps.
The trade-off is bulk and added complexity. A tear-away design usually has more layers, more hook-and-loop, and slightly more movement than a fixed pouch. If your setup gets dragged through tight spaces or worn daily in and out of vehicles, that can matter.
Clamshell and full-zip pouches
These open wide and give a clear view of the contents. They are practical for organized trauma kits because you can stage gear with elastic loops and internal sleeves. If you carry multiple components like chest seals, compressed gauze, gloves, hemostatic dressings, and airway tools, this format keeps things visible and separated.
The drawback is that a full-zip opening can become messy if the pouch is overpacked. Open it too fast and items may shift or fall out. Good internal organization reduces that problem, but only if you keep the loadout disciplined.
Insert-based or sleeve-style pouches
These use a removable insert that carries the medical contents while the outer shell stays mounted. Many duty users like this style on belts and carriers because it combines secure mounting with fast access. Pull the insert, set it down, and work from the organized panel.
This is often a smart middle ground for officers and security professionals who need a compact footprint but still want more structure than a basic zip pouch provides.
Compact belt-mounted trauma pouches
These are designed for minimal lifesaving essentials rather than a broad medical kit. They usually fit a tourniquet, gauze, gloves, and maybe a pressure dressing or chest seal depending on the layout. For everyday patrol or armed security work, that may be exactly the right answer.
The limitation is obvious. A smaller pouch forces discipline, which is good, but it also limits flexibility. If your mission profile calls for treating more than immediate life threats, you may need a larger medical kit elsewhere on your gear or in your vehicle.
How to size the pouch for the job
The easiest way to get pouch size right is to build from your medical priorities, not from the empty pouch dimensions.
If your goal is immediate trauma intervention, start with the essentials you are trained to use for severe bleeding and penetrating trauma. That usually points you toward a compact or medium pouch. If you are building for EMS support, range operations, team response, or extended field use, you may need more room and more organization.
Avoid stuffing every possible medical item into one pouch. Overloading slows access and makes indexing by touch harder. A tactical medical pouch should carry critical items first. Secondary care items can live in a bag, vehicle kit, or separate medical platform.
A useful rule is this: if you cannot find the tourniquet, gauze, or pressure dressing immediately with either hand, the pouch is carrying too much or laid out poorly.
Mounting options and placement matter more than people think
A well-made pouch in the wrong location creates its own problems. Duty belts, outer carriers, chest rigs, packs, and vehicle panels all have pros and cons.
Belt-mounted pouches work well for immediate access and consistent placement. They are a strong option for patrol, corrections, and armed security, especially when the setup needs to stay with you if body armor comes off. But belt space is limited, and a pouch that sits too far back can be hard to reach in a vehicle.
Carrier-mounted pouches free up belt real estate and can give better access when standing or moving. They also integrate well with rifle and armor setups. The downside is that front-mounted medical pouches can add bulk when going prone, while side and rear placement may be harder to reach one-handed.
Pack-mounted and vehicle-mounted kits are valuable, but they should not replace an on-body trauma pouch for users who may need to self-aid or provide immediate care before reaching the vehicle.
A note on one-hand access
One-hand access is not optional. Injury, body position, or environmental obstacles may leave you using only one arm. Test your pouch from both sides, with gloves, and while seated. If the zipper pulls are too small, the insert catches, or the pouch sits under other gear, fix it before it becomes a problem in the field.
Internal layout is where speed is won or lost
A tactical medical pouch should make your loadout easy to read by touch. That means the most time-sensitive items should be the easiest to grab.
Tourniquets are often better staged externally or in a dedicated holder rather than buried inside the pouch. Inside the pouch, use internal loops and sleeves to separate gauze, dressings, gloves, and seals so they do not bunch together. Flat items should stay flat. Bulky items should not block the opening.
Consistency matters. Once you settle on a layout, keep it the same across your kits when possible. If your chest seal always rides in the rear sleeve and your gauze always rides center-left, your hands learn the pattern. Under stress, that familiarity saves time.
Color cues can help, but they are not the whole answer. A red pull tab or medical patch improves identification, especially for teammates. Still, tactile organization matters more than appearance when visibility is low.
Durability, materials, and closure choices
The best tactical medical pouches use durable nylon, reinforced stitching, dependable zippers, and mounting hardware that holds under movement. That does not mean you need the heaviest pouch available. It means the pouch should match your operational use.
If the pouch lives on a patrol belt, outer vest, or range kit, abrasion resistance and secure mounting are worth paying for. If it is a secondary kit inside a pack, lighter construction may be fine. Water resistance also matters, but it has limits. A water-resistant pouch helps protect contents from sweat, rain, and incidental exposure. It does not make your supplies immune to poor storage or neglect.
Closures are another area where preference meets use case. Zippers give clean containment and organization. Hook-and-loop can be fast but loud and prone to debris. Buckles add security but can slow access. There is no universal winner. The right answer depends on whether speed, silence, or retention is the top priority for your role.
Common mistakes when choosing a medical pouch
The biggest mistake is buying for aesthetics instead of access. A low-profile pouch that disappears into the kit may look clean, but if you cannot open it quickly, it fails where it counts.
Another common issue is treating the pouch as the medical plan. The pouch is only the container. Your training, item selection, and placement are what make it useful. A premium pouch packed with gear you do not know how to use is still a poor setup.
Finally, do not ignore fit with the rest of your loadout. A pouch can be well-built and still be wrong for your belt width, armor carrier, seating position, or assignment. Patrol, plainclothes response, range use, and EMS support all place different demands on size and access.
At AE Tactical, that is why tactical medical gear should be chosen the same way as holsters, carriers, and lights - by mission, not by hype. The right pouch is the one that supports fast, confident action when the situation gets ugly.
Take the time to set it up, wear it, and test it under realistic conditions. If you can reach it, open it, and use it without hesitation, you are on the right track.