Cart
0


A patrol loadout usually gets tested at the worst possible moment - halfway through a long shift, in bad weather, under stress, and while you are moving fast. That is why knowing how to build a patrol loadout is less about buying more gear and more about making smart choices. The right setup supports your job, your agency policy, and your body through hours of wear without getting in your way.
The biggest mistake officers and security professionals make is treating loadout building like a gear checklist. Patrol work is not static. One shift can include traffic stops, report calls, building checks, medical response, a foot pursuit, and a long stretch in a vehicle. If your setup only works when you are standing still in a mirror, it is not ready for patrol.
Start with the mission, not the gear
Before you pick holsters, pouches, or vest accessories, define what your daily patrol role actually demands. A city patrol officer, a campus officer, an armed security professional, and a rural deputy may all carry similar core equipment, but their priorities can look very different. Call volume, time in the vehicle, likelihood of hands-on encounters, weather, uniform standards, and access to backup all matter.
That is the first real step in how to build a patrol loadout. Your setup should match your assignment, not somebody else's social media photo. If your shift involves long hours seated in a cruiser, belt placement becomes a bigger issue. If you spend more time on foot or working fixed posts, weight distribution may matter more than seat comfort. If your agency requires external carriers, that changes how you split gear between belt and vest.
Policy drives the whole process too. Approved holster types, magazine placement, body armor standards, less-lethal tools, and visible equipment rules are not side notes. They set the boundaries for every equipment decision. A good loadout is duty-ready and compliant at the same time.
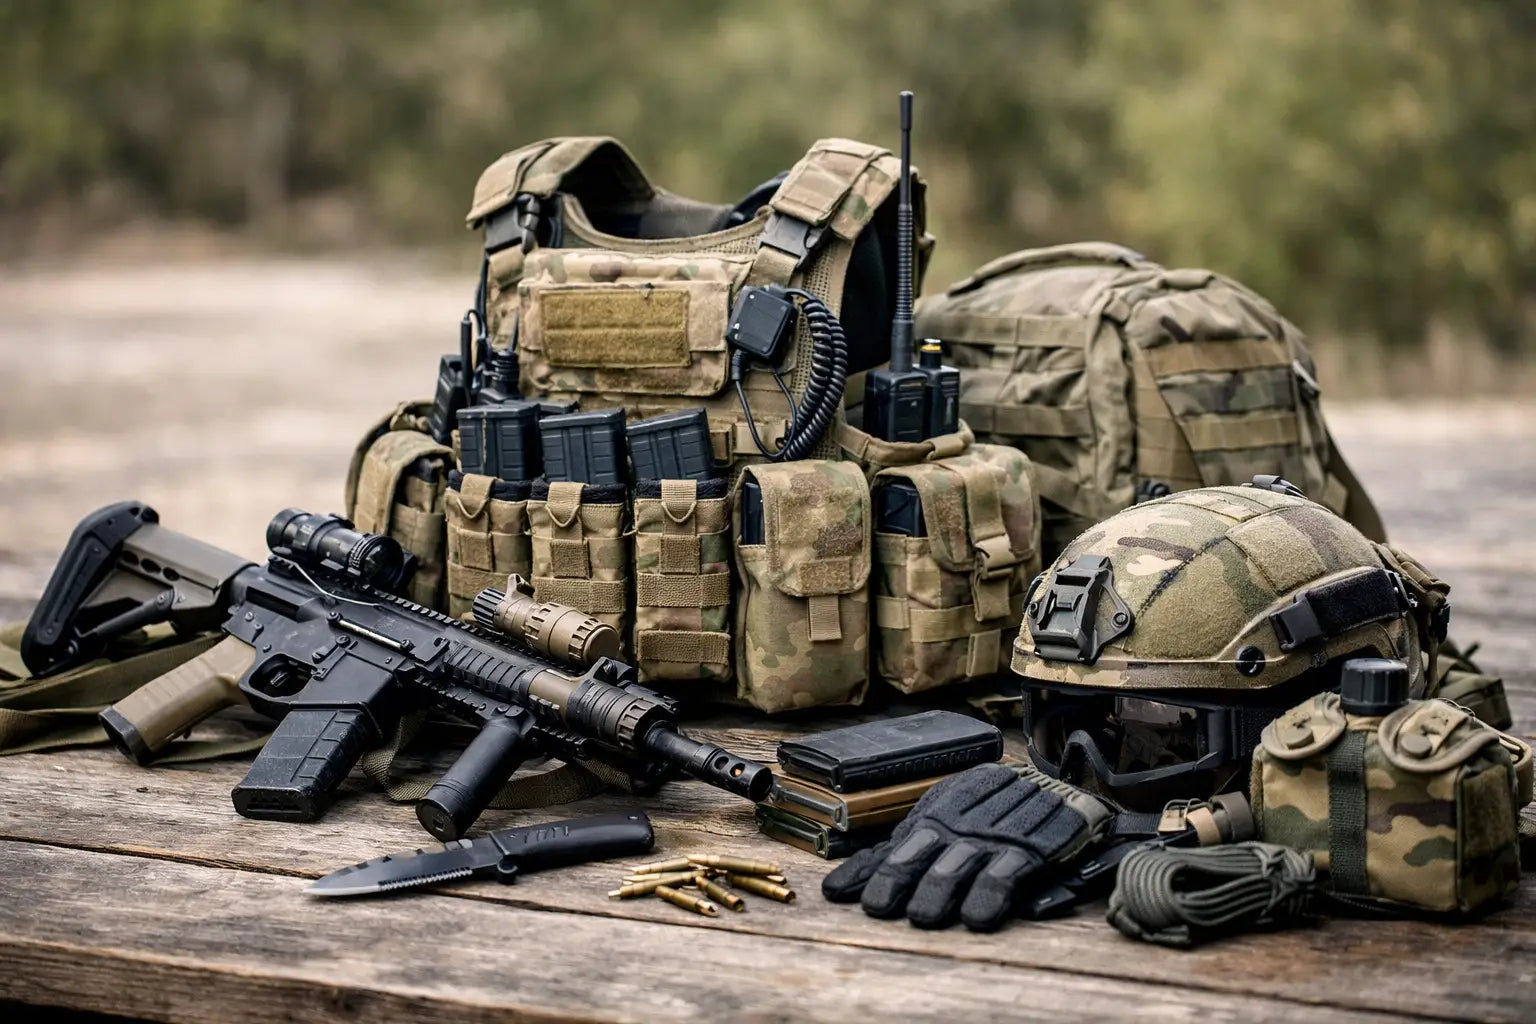
Build around your essential patrol gear
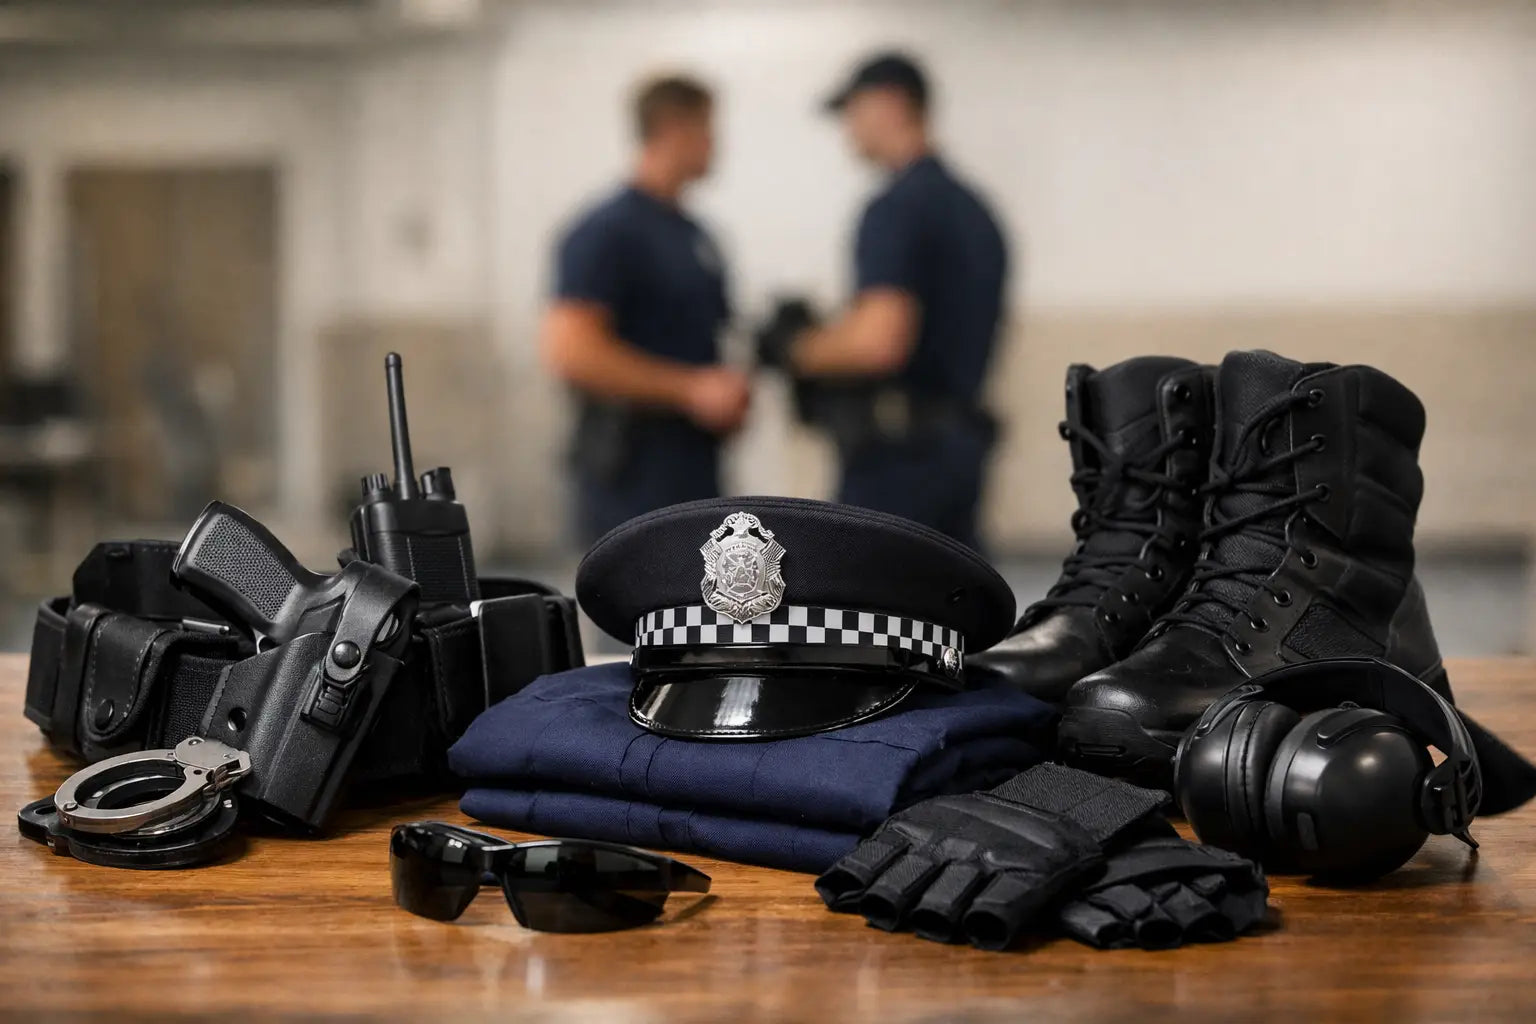
Most patrol loadouts start with the same core categories: firearm and duty holster, spare magazines, body armor, radio, handcuffs, medical gear, flashlight, and less-lethal tools if authorized. From there, the details matter.
Your handgun setup should prioritize retention, consistency, and access from awkward positions. A duty holster has one job above all else - keep the firearm secure while still allowing a clean draw under pressure. Retention level, ride height, and placement should support your movement patterns, body type, and vehicle use. A setup that feels fast on the range can become a problem if it digs into the seat, prints badly, or interferes with seatbelt use.
Magazine placement should be simple and repeatable. Extra magazines belong where you can reach them without thought. The same goes for handcuffs. Many officers carry more than one cuff set because one is rarely enough on busy patrol. Placement should support a quick grab with either hand if possible, especially if your primary side is tied up.
A reliable flashlight is not optional. Patrol lighting needs go well beyond searching dark areas. You may use that light for vehicle approaches, document checks, building interiors, accident scenes, and low-light control tasks. Size, lumen output, switch style, and carry method all affect whether the light is actually useful on shift or just technically present.
Medical gear deserves more attention than it often gets. A tourniquet and compact trauma capability should be staged where you can access them fast, including with your support hand. If the gear is buried in a bag or blocked by other equipment, it is not truly part of your working loadout.
Belt, vest, or both
One of the most practical decisions in how to build a patrol loadout is figuring out what belongs on the duty belt and what should move to an external carrier. There is no perfect split for every officer because comfort, agency rules, and body mechanics vary.
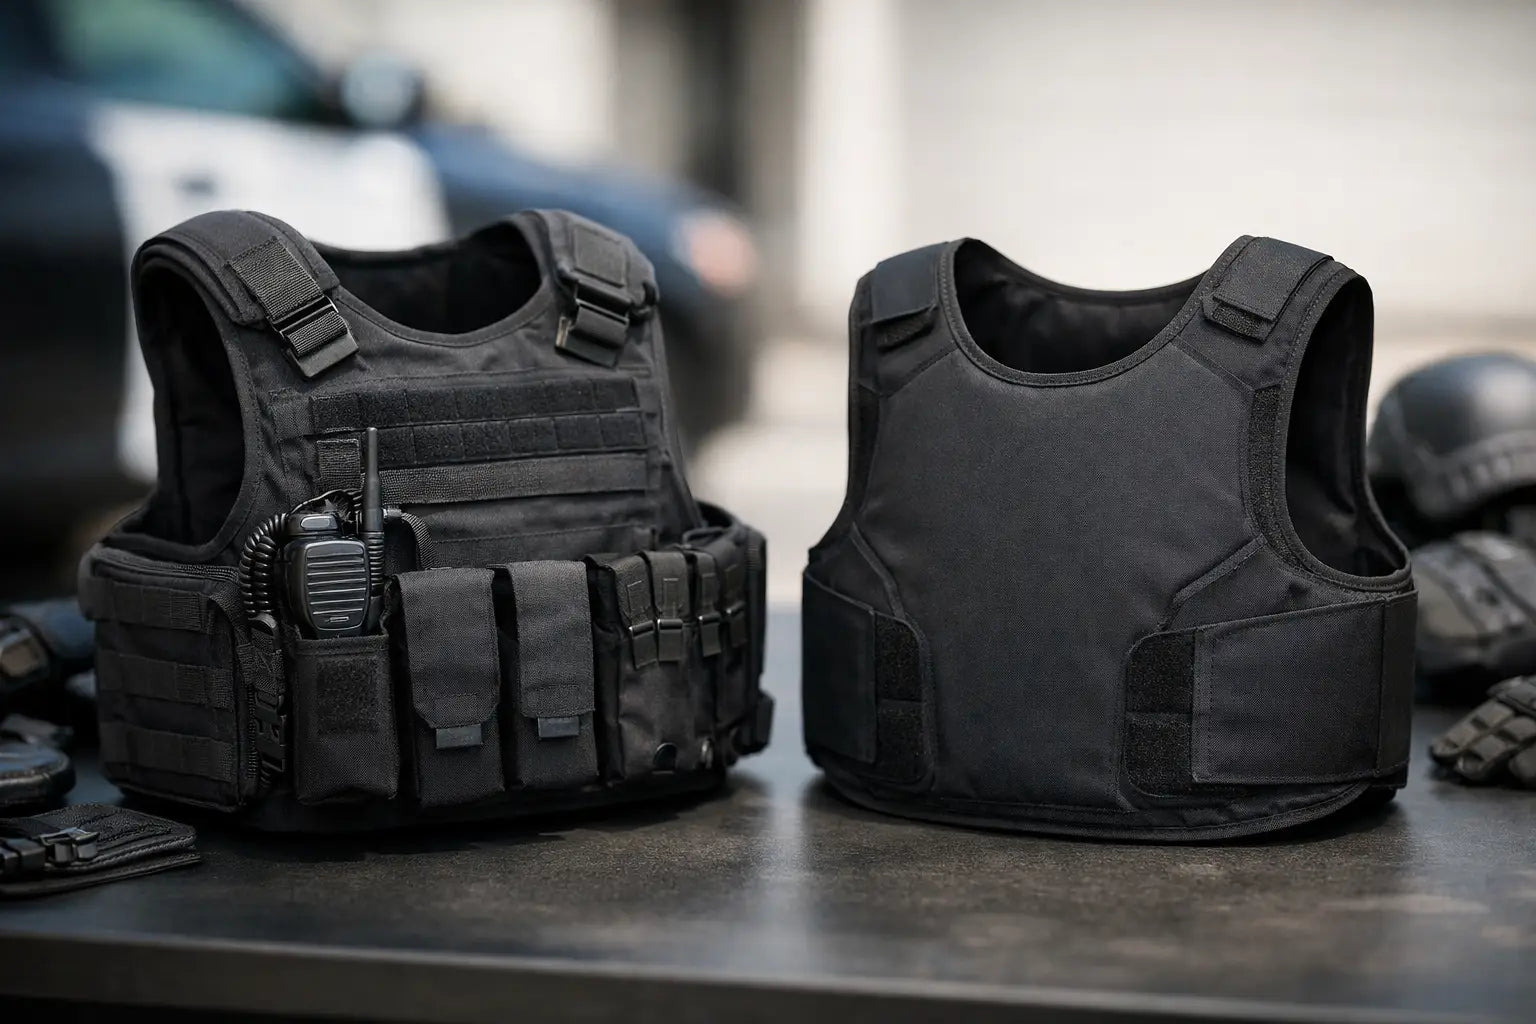
A traditional belt setup keeps gear consistent and accessible, but too much weight around the waist creates fatigue and can become a problem during long vehicle shifts. External carriers can improve comfort and spread weight better, especially when carrying radios, extra magazines, body-worn camera accessories, and admin tools. But adding gear to the vest can create bulk, interfere with rifle stock placement, or make front access harder when seated.
The best approach is usually balance. Keep immediate-action tools in predictable locations, then move secondary items where they ride better and stay accessible. Your sidearm, magazines, cuffs, and key force options need clean access. Administrative items, gloves, notebooks, and some medical components may sit better on the vest depending on your layout.
If you run both belt and vest, avoid duplicating bulk without a reason. Redundancy matters for certain items. Clutter does not. Every pouch should justify the space and weight it adds.
Comfort is a performance issue
A patrol loadout that causes back pain, hot spots, pinching, or restricted movement will eventually get modified the wrong way. Officers start removing gear, shifting critical items to poor locations, or carrying equipment in pockets because the original setup was uncomfortable.
That is why fit matters as much as brand or price point. Duty boots need support for full-shift wear, not just a good first impression. Body armor should provide proper coverage without limiting breathing or shoulder movement. A duty belt should stay stable without forcing you to overtighten it. If you are wearing an external carrier, adjust it for your torso length and actual job tasks, not just appearance.
There is always a trade-off between carrying more and moving better. More gear can increase capability, but it also increases fatigue, heat retention, and setup complexity. Patrol is not the place for a bloated loadout. Carry what you are likely to need, stage what you may need, and leave novelty gear out of the equation.
Think in layers
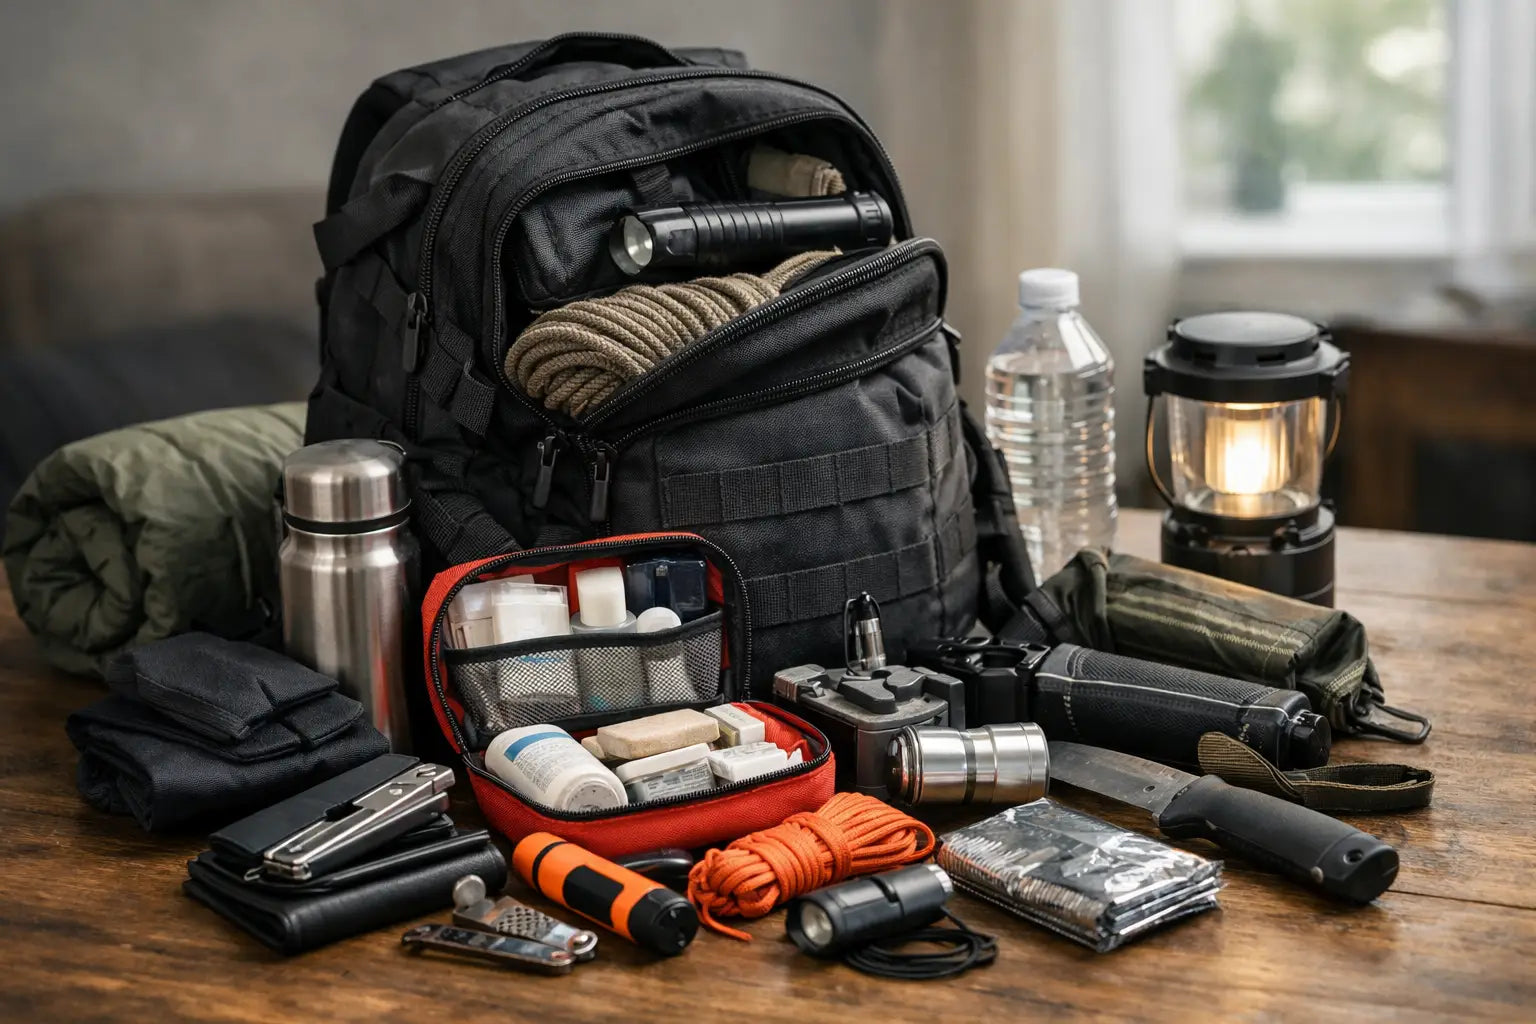
A strong patrol setup works best when it is organized in layers instead of one overloaded platform. Your first layer is what stays on your person at all times - belt and vest essentials. Your second layer is vehicle-access gear such as a patrol bag, extra medical supplies, report tools, batteries, hydration, and weather items. A third layer may include active threat equipment, breaching tools, or specialty gear based on assignment.
This layered approach helps solve a common problem. People try to carry every possible item on their body because they do not want to be caught without it. That usually leads to poor placement and slower access to the tools that matter most. If an item is necessary every shift but not necessary in the first five seconds of an incident, it may belong in the bag instead of on the belt.
For many public safety professionals, this is where shopping by mission need makes a difference. A specialized outfitter like AE Tactical is useful because gear categories are built around real patrol requirements, not generic outdoor use.
Train with the loadout you actually wear
The fastest way to find weak points is to use your setup in realistic conditions. Range drills, low-light work, vehicle exits, cuffing practice, radio use, and medical access all reveal problems that casual wear will not. If your flashlight snags, your radio mic placement is awkward, or your support-side access to medical gear is blocked, training exposes it.
This is also where small changes matter. Moving a pouch one inch can fix seat interference. Changing holster cant or ride height can improve both comfort and draw consistency. Swapping a bulky pouch for a slimmer one can make a vest noticeably easier to wear all shift.
Do not change five things at once. Adjust one variable, test it, and keep what works. A patrol loadout should evolve based on actual field use, not impulse buying.
Common mistakes to avoid
The most common loadout problems are easy to recognize. Carrying too much is one. Copying a specialized team setup for routine patrol is another. Poor quality accessories can also create major issues, especially with retention gear, lights, and pouches that fail under daily use.
Another mistake is ignoring seasonal and regional conditions. South Florida heat, humidity, and rain place very different demands on uniforms, outerwear, boots, and load-bearing gear than colder climates. Materials, breathability, and moisture management are not comfort extras. They affect shift-long performance.
Finally, do not overlook replacement cycles. A patrol loadout is not a one-time build. Flashlight batteries, boot tread, armor carriers, glove stock, and pouch retention all wear out. Readiness depends on checking your equipment before failure forces the issue.
How to know your patrol loadout is working
A good patrol loadout feels predictable. You can reach critical gear without looking. You can sit, stand, run, and fight in it. It stays compliant with policy, supports your actual assignment, and does not leave you worn down before the shift is over.
That is really the standard for how to build a patrol loadout. Not the most expensive setup, and not the one with the most attachments. The right loadout is the one that helps you perform your job safely, consistently, and without unnecessary friction.
If you are rebuilding your setup, start with the tools you touch most, fix access and comfort first, and let field use guide the rest. Good patrol gear should earn its place every shift.