Cart
0


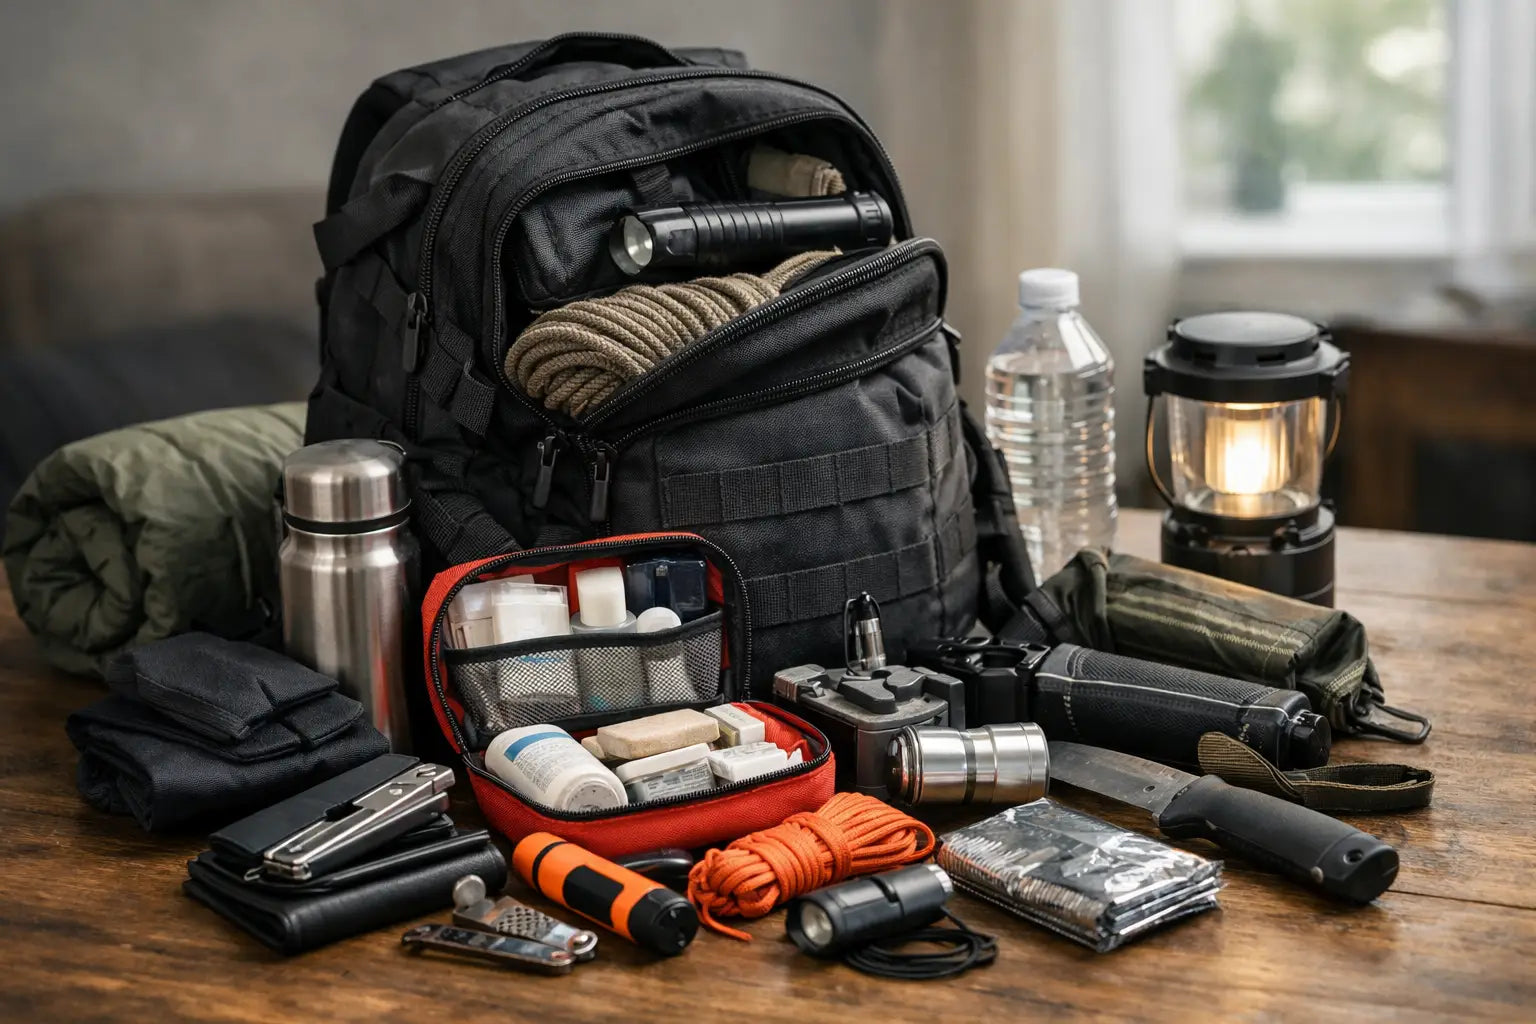
A duty belt that looks good in the locker room can turn into a problem halfway through a 12-hour shift. Gear that rides too high, prints under a vest, shifts in the cruiser, or blocks access under stress is not just annoying - it slows you down when seconds matter. If you're figuring out how to build duty loadout for patrol, security, corrections, or other field use, the goal is simple: carry what you need, place it where you can reach it, and keep it comfortable enough to wear all day.
That sounds straightforward, but real-world loadout setup is always a balance. Retention matters. Speed matters. Department policy matters. So does body type, assignment, vehicle time, climate, and whether your shift is mostly routine contact or high-tempo calls. The best duty loadout is not the one with the most gear. It's the one that supports your job without creating extra problems.
Start with the job, not the gear
The most common mistake in how to build duty loadout is shopping by brand or trend before defining the mission. A patrol officer, armed security professional, court officer, and corrections deputy may all wear a duty belt, but their loadout priorities are different. Patrol usually needs a broader mix of force options, lighting, medical, and communication. Corrections may prioritize retention, compact profiles, and facility policy. Security work can vary from mobile patrol to fixed post to executive protection, and each one changes what should be on the belt.
Start with three questions. What equipment is required by policy? What equipment do you actually use during a normal week? What equipment must stay immediately accessible with either hand? That last question matters more than many people think. If an item is critical under stress, it needs a consistent placement and a realistic draw path.
There is also a difference between required carry and ideal carry. Some officers want every tool on the belt. Others push as much as possible to an outer carrier or bag. Both approaches can work, but only if the setup still gives you reliable access while seated, moving, and fighting through awkward positions.
Build the foundation first
Before choosing pouches and accessories, get the belt system right. A weak foundation makes every other decision worse. Your duty belt should support weight evenly, stay stable during movement, and resist sagging after hours on post or in a vehicle. That usually means a quality outer belt paired with a secure inner system or keepers, depending on your department standard.
Width, stiffness, and closure matter. A belt that is too flexible lets gear roll outward and creates hot spots on the hips. A belt that is too rigid can become uncomfortable when seated for long periods, especially for patrol and transport assignments. The right answer depends on how much equipment you carry and how often you're in and out of a vehicle.
Fit matters just as much as construction. If the belt rides differently every shift, your index points change. That slows access and creates inconsistency under pressure. Build around repeatable placement, not just around what fits in the empty spaces.
Prioritize the core items
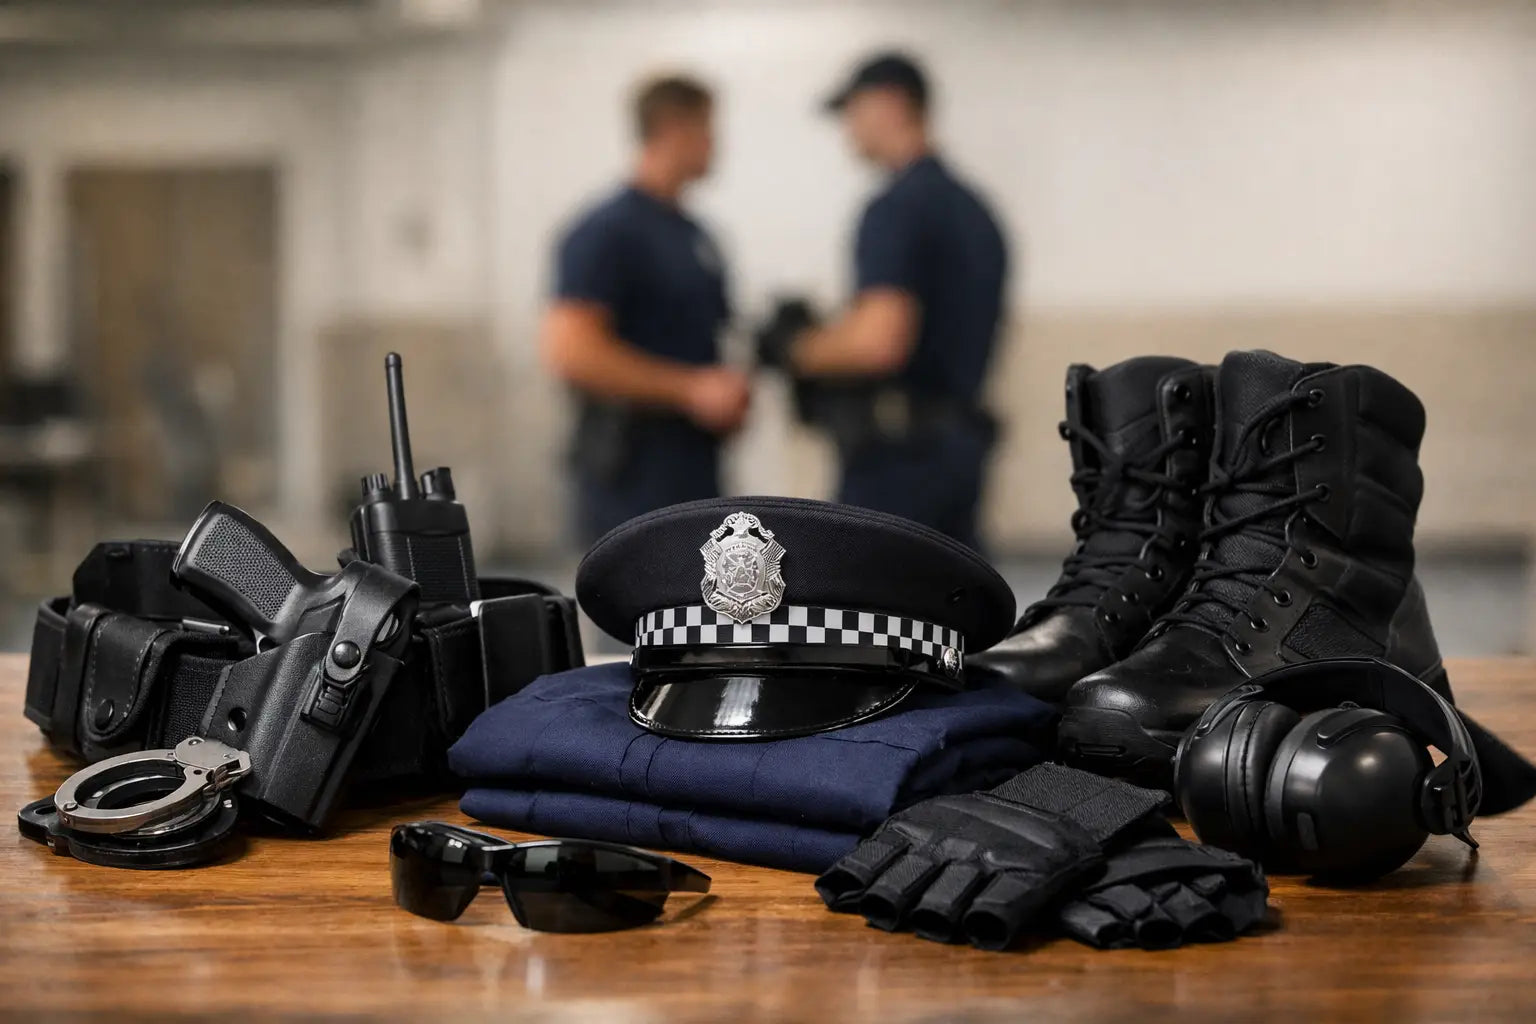
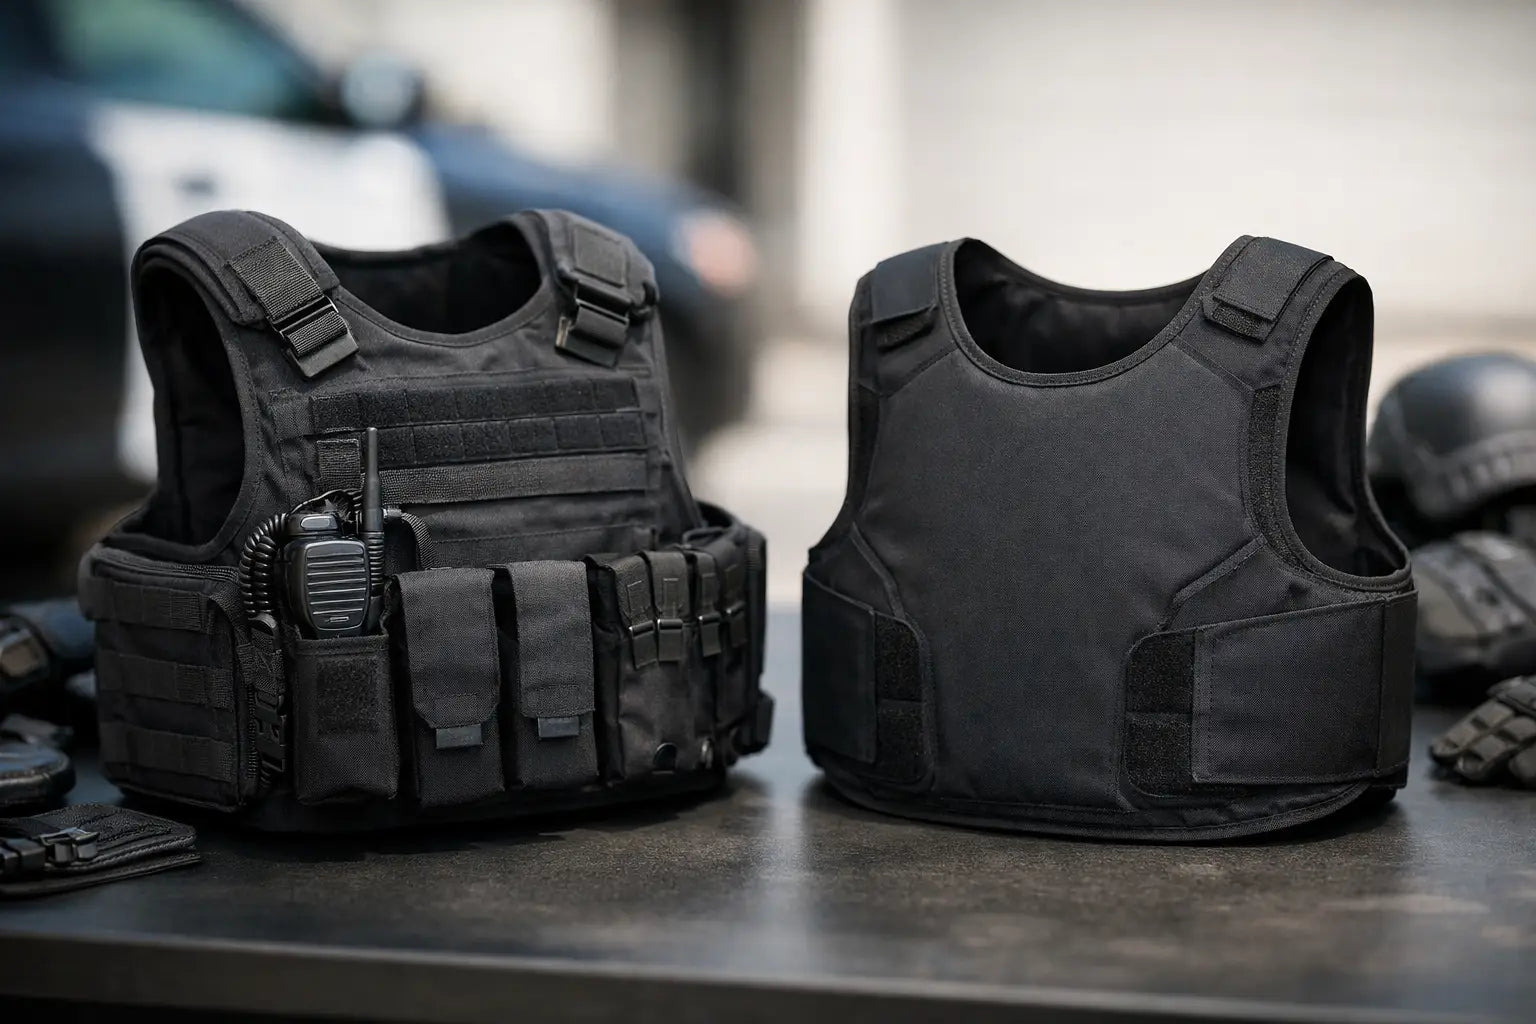
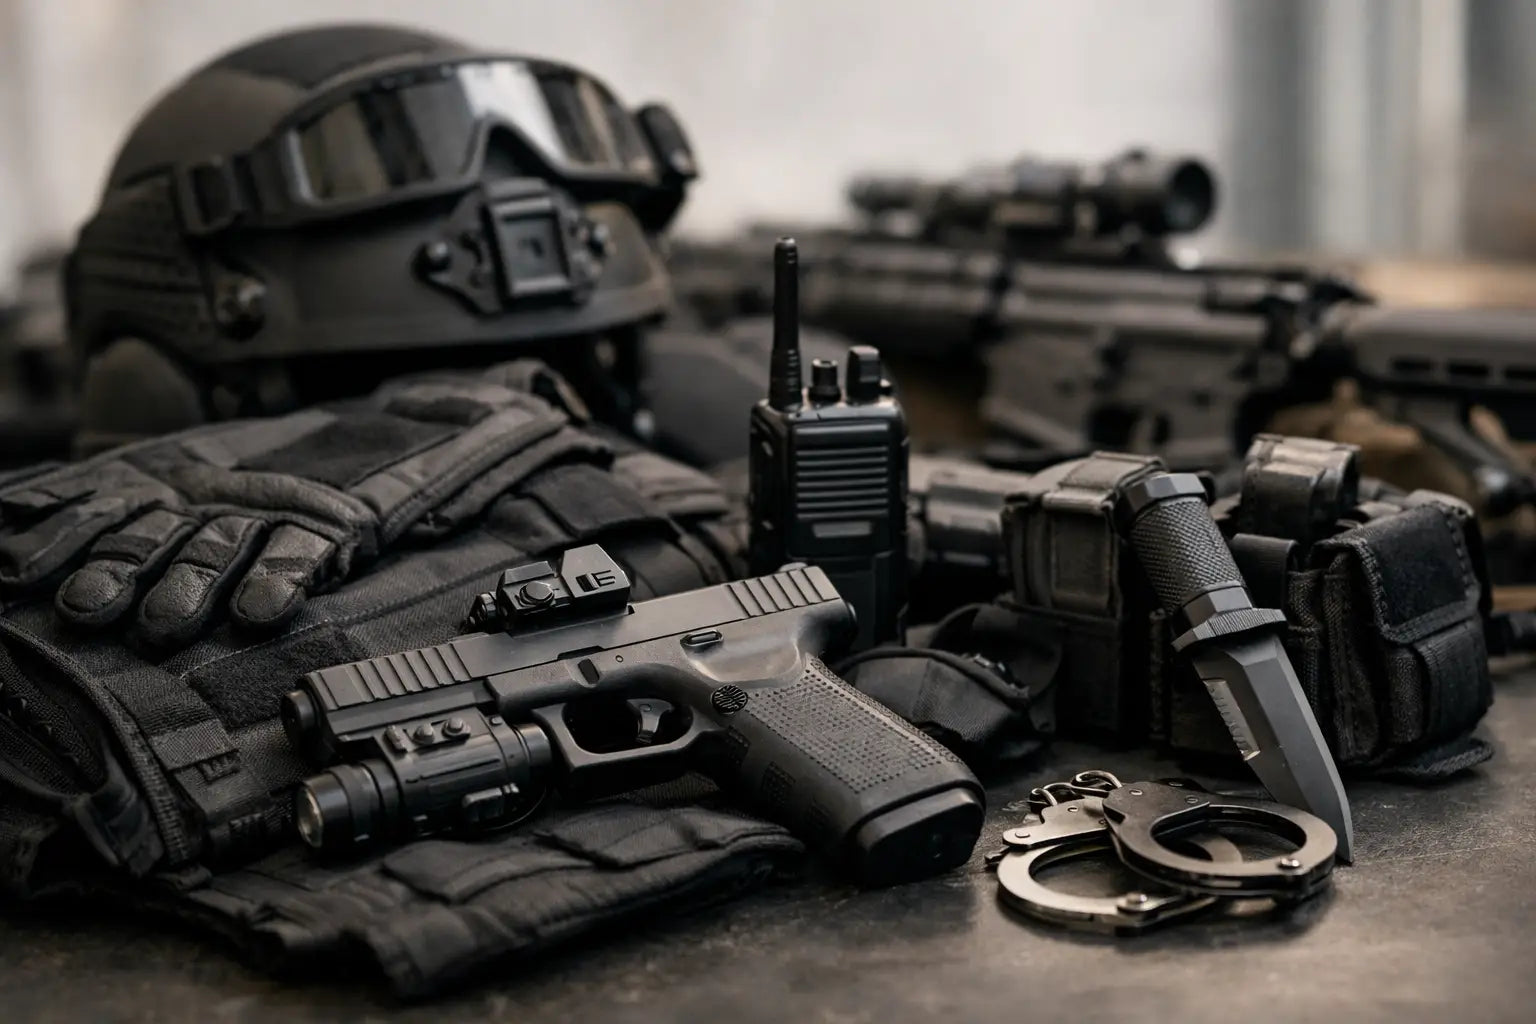
Every duty loadout starts with a few non-negotiables: firearm and holster, spare magazine or magazines, restraints, light, and communications. Depending on assignment, you may also need less-lethal tools, gloves, medical, or a notebook and marker setup. The trick is deciding what belongs on the belt, what belongs on a vest, and what can stay in a bag.
Your sidearm and holster should drive the rest of the layout. Retention level, ride height, cant, and placement all affect comfort and access. A duty holster has to do two things at once - secure the firearm during movement and allow a clean draw under stress. If you spend a lot of time seated, especially in a patrol vehicle, test the setup from that position. A holster that feels fine standing in the store can become a constant interference point once you're strapped into a seatbelt.
Magazine placement should support a consistent reload without colliding with your radio, cuffs, or other pouches. Most users want support-side access, but exact positioning depends on arm length, vest bulk, and whether your outer carrier pushes gear lower on the belt line. Keep your draw path clean. If you have to fish around past a flashlight pouch and cuff case to reach a mag, the placement needs work.
Place gear by frequency and urgency
A practical way to organize a belt is by asking two things: how often do I use this, and how urgently might I need it? High-urgency items should be easy to access with minimal movement. Lower-urgency tools can sit farther back or move off the belt entirely.
That is why many solid loadouts keep the front of the belt relatively clear. It improves comfort in vehicles, reduces pressure when bending, and leaves room for natural movement. Bulking up the centerline with pouches may seem efficient on paper, but it often creates more problems than it solves.
Handcuffs are a good example of the urgency-versus-space decision. If you use restraints regularly, they need to be accessible and secure. But carrying multiple cuff cases on the strongest side may crowd out more important items or interfere with a clean draw. Some users split placement between belt and vest. Others move one set rearward and keep one in a primary access position. It depends on assignment and policy.
The same logic applies to your flashlight. A duty light should be easy to index and draw in low light, but the pouch should not trap the light, snag your shirt, or press into your ribs all shift. A poor pouch can make a quality light frustrating to carry.
Balance retention, access, and comfort
This is where most loadouts are won or lost. Faster access usually means less coverage or simpler retention. More security often means slower deployment. There is no perfect answer that applies to every role.
For patrol or armed security, retention usually deserves more weight than pure speed, especially on exposed outer gear. If you're in close contact with the public, working crowds, or moving in and out of physical encounters, gear security matters. At the same time, overbuilding the setup with oversized pouches and bulky cases can make the whole belt harder to manage.
Comfort is not a luxury item. If your lower back is burning three hours into the shift, your attention drops and your movement changes. That can affect draw consistency, posture, and stamina. In some cases, moving selected equipment to an outer carrier creates a much better load-bearing setup. In other cases, keeping critical tools on the belt still makes more sense. What matters is honest testing, not guesswork.
Test your duty loadout under real conditions
If you want to know how to build duty loadout correctly, do not stop after putting it on once. Walk with it. Sit in a cruiser. Run with it. Bend, kneel, and practice hand access from both sides. Test with a winter layer if your area requires it. Test with body armor if that changes your reach.
Dry practice helps reveal bad placement fast. Can you draw your light without looking? Can you access cuffs with either hand if one side gets pinned? Can you reach your radio cleanly while seated and belted in? Can you reload without snagging another pouch? Small issues become big issues when your heart rate is up.
This is also where quality becomes obvious. Cheap pouches often loosen, shift, collapse, or crack under repeated use. Budget gear may look acceptable online, but duty use exposes weak stitching, poor retention, and inconsistent hardware. For professionals, dependable gear is not about buying the most expensive option. It's about buying equipment that holds up when the job gets repetitive, dirty, and physical.
Keep the setup lean and mission-ready
There is a point where adding one more pouch stops helping. A belt overloaded with specialty tools usually means extra weight, slower access, and more bulk in the vehicle. If an item is used rarely and not needed immediately, consider carrying it elsewhere.
A smart loadout leaves room for your actual work. It supports movement, report writing, vehicle time, perimeter standing, and sudden action without forcing you to fight your own equipment. That is why experienced professionals often end up with simpler setups than newer users expect. They have learned what stays useful after month three, not just what looked good on day one.
It also helps to review your loadout after a few weeks. What did you use? What stayed untouched? What rubbed, shifted, or got blocked by another item? Small refinements usually make a bigger difference than a full rebuild.
Buy for duty use, not just shelf appeal
Brand reputation matters, but category fit matters more. Duty holsters, restraints, lights, pouches, boots, and carriers should be selected for real field use, policy compliance, and long-shift wear. An authorized dealer with a public safety focus can make that process easier because the product mix is already organized around operational needs instead of general outdoor use. For officers, security teams, and agency buyers, that saves time and cuts down on bad purchases.
A good duty loadout should feel predictable every time you gear up. You should know where your hands are going before you need them there. Build around the job, pressure-test the setup, and give yourself permission to remove anything that earns a spot on the belt only in theory.